

While most of the applications are now virtualized, it is probably time to virtualize your monitoring tool as well.
Laurent Pinsivy, Centreon Product Manager, worked on a step by step tutorial to help you install a Centreon platform from the virtual machine downloaded on the Centreon download website.
If the video does not display, here are the steps:
Let’s start by opening your web browser to access the Centreon download website: https://download.centreon.com/.
The Centreon download website offers an OVA file that can be used for VMware infrastructures and an OVF package for VirtualBox and other software.
Click on the OVF zip file and download it.
Once the download is complete, extract content from the zip file.
Double-click on the “centreon-central.ovf” file, the VirtualBox software will open. Click “import” to add this virtual machine to your list.
Wait during the import process.
Click on your VM to edit settings.
Go to the “Network” tab and add a “Network Adapter” regarding your configuration and save.
Now, start the virtual machine.
The password for the ‘root’ account is “centreon”.
To get the IP address of your server, enter “ip addr”.
Use your favorite terminal to connect to the VM.
On the first connection, instructions are provided to complete the installation:
- You can change the time zone (by default Europe/London)
- You can change the name of the server
- You have to execute the Centreon partitioning script to add missing MYSQL table partition
- You have to restart the Centreon Broker process
Then you can access to the Centreon Web interface using the account admin/centreon.
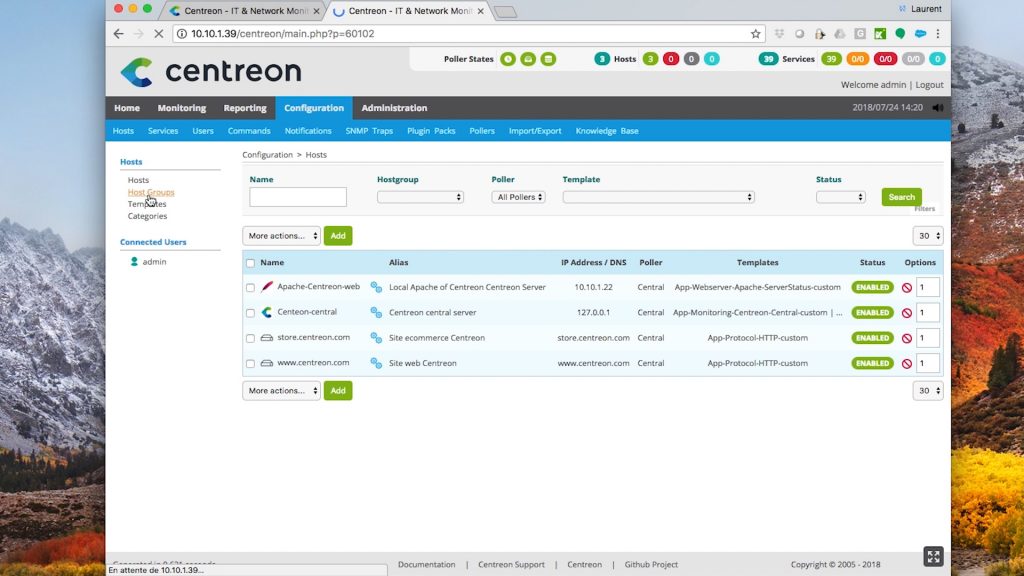
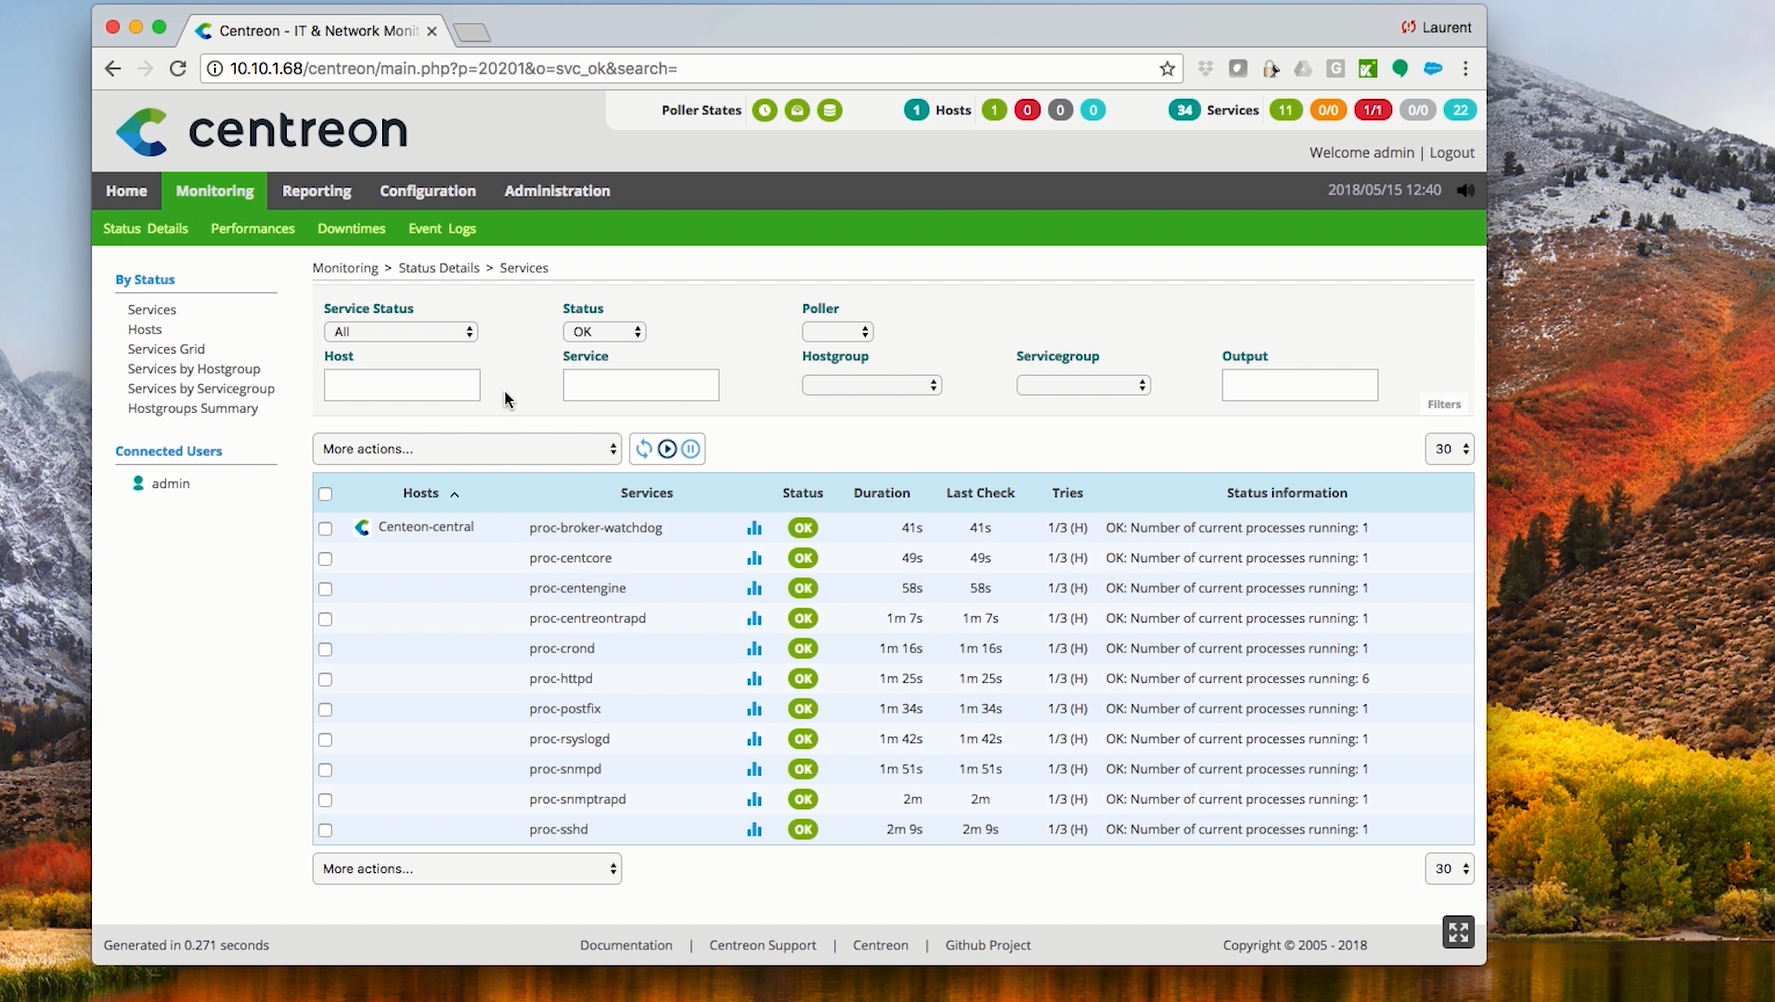
A predefined configuration is available to monitor your VM itself.
Because the pre-installed VMware tools daemon is not compatible with VirtualBox, you can remove this control. Go to “Configuration > Services” and search “vmtools”.
Check the box, select “Delete” in the “More actions” menu and confirm action.
For VMware infrastructure, it is not necessary to delete this service. Just enable vmtools service on the VM.
Go to the “Configuration > Pollers”, check the box and click “Export configuration”. Check the first four boxes and click “Export” to generate, test and export configuration.
The control in “CRITICAL” status disappeared.
You can start your monitoring using the Centreon Plugin Packs standard from “Configuration > Plugin Packs” menu.
Looking for more tutorials? (re)Discover our previous posts!
- Monitor your VMware infrastructure: how to use one of these Plugin Packs to deploy ESX server monitoring for your VMware virtualization platforms. Read the tutorial.
- Monitor your Synology NAS instantly: Do you want to deploy Synology NAS quickly and easily? This tutorial is for you! Read the tutorial.
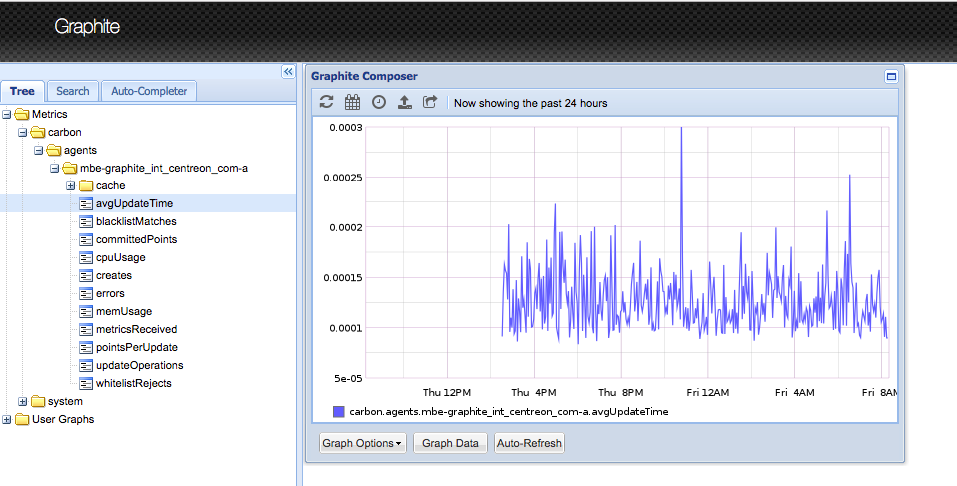
- Export data to Graphite: Discover how to use the Graphite TSDB and view the data with the Grafana dashboard. Read the tutorial.
Stay in touch!
- Find more helpful content on our blog: news, best practices, tutorials, events, press releases, opinion pieces, customer stories, etc. Go to the Centreon blog.
- We keep you up to date with industry news, good infrastructure monitoring practices: Subscribe now to our newsletter.
- Follow us on our social media: LinkedIN Page – Twitter.
Share